Attach a model context resource
What for: this guide helps you define a shared model context resource and attach it to the answer node.
Problems it solves: window limits and context policies get copied into every node — one branch resource is cleaner.
Result: the agent uses the Green Garden context resource.
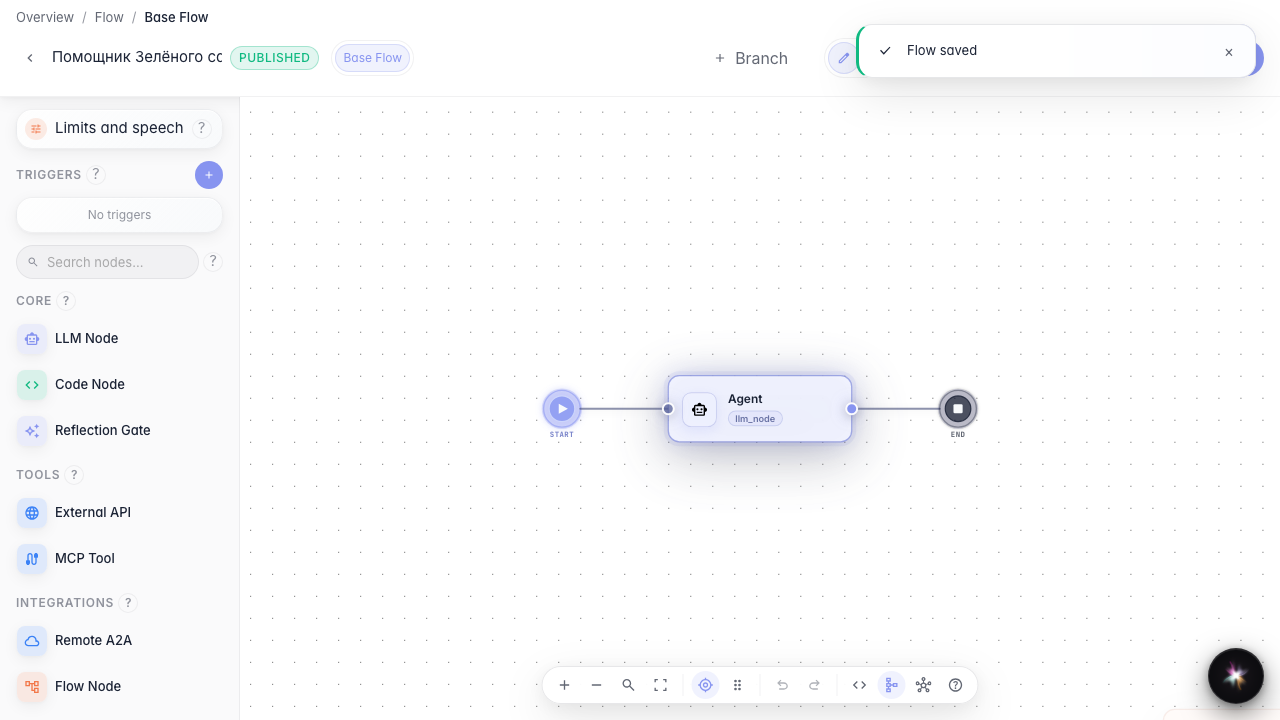
Step 1. Open the agent on the canvas
Open the Green Garden Assistant on the canvas. The model context resource lives next to files and other branch resources.
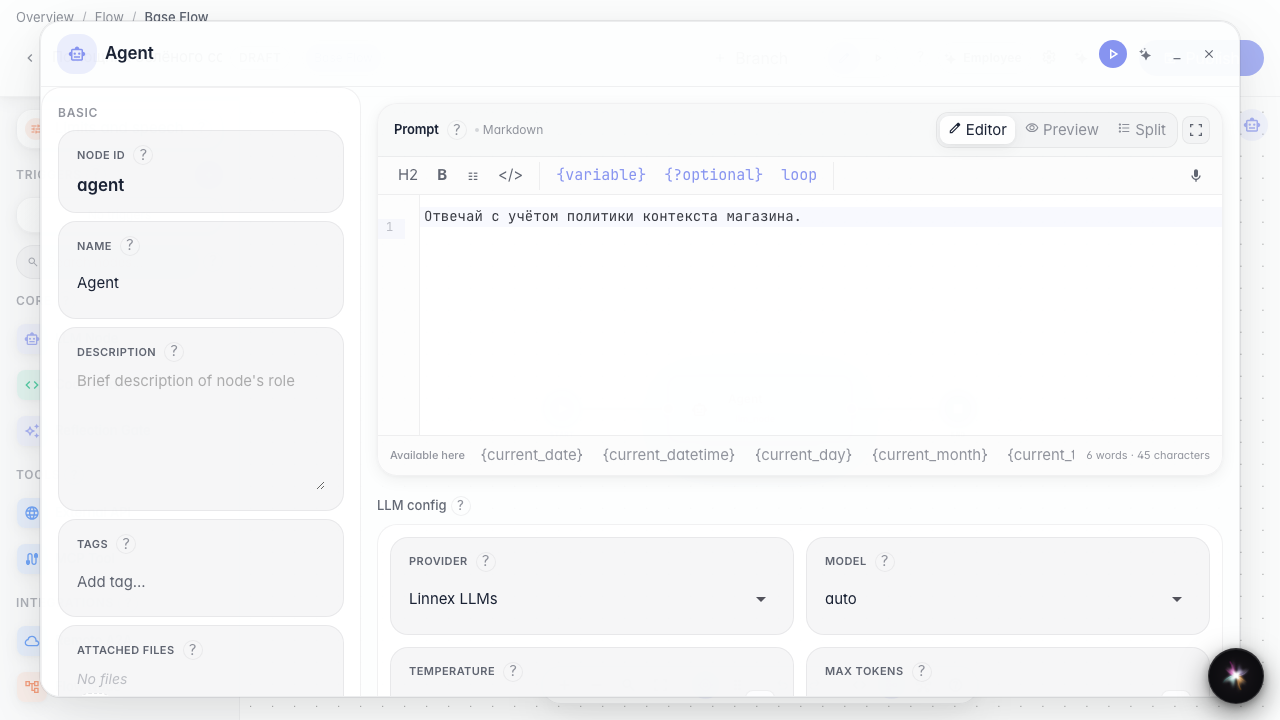
Step 2. Drop a context resource on the canvas
From the resources palette drag the model context type. A block appears for window and profile policies shared across nodes.
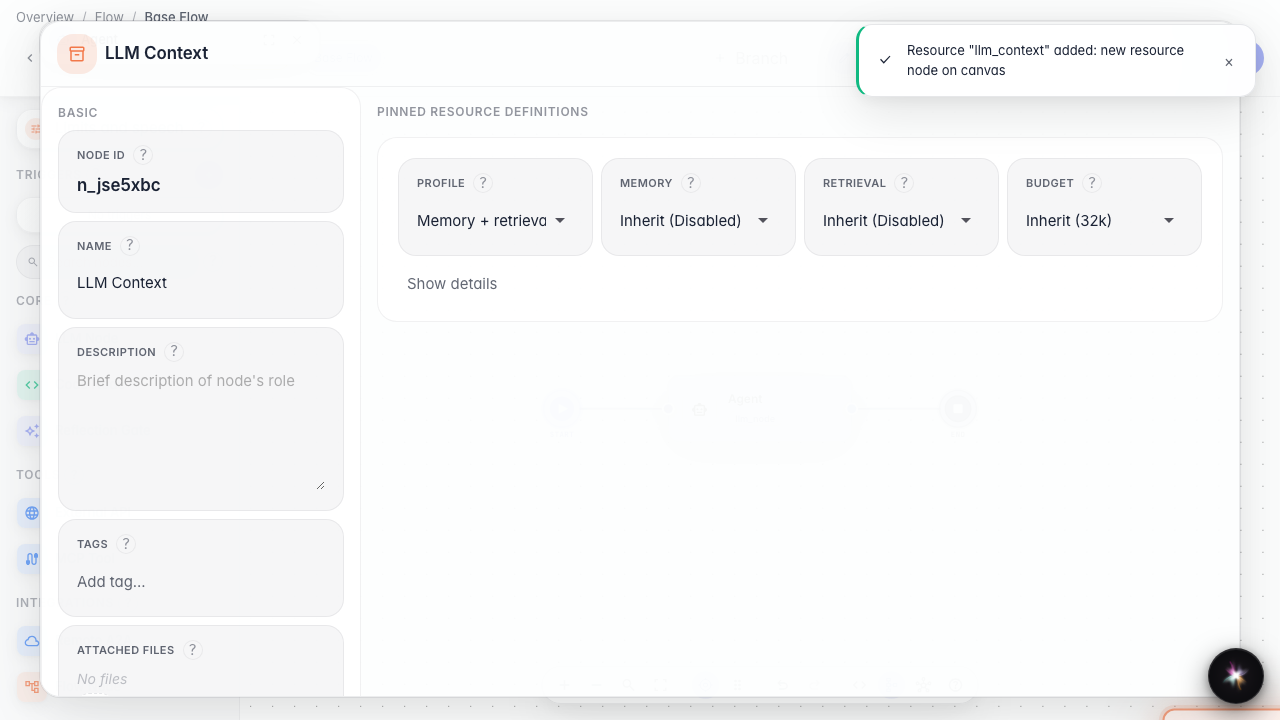
Step 3. Name the resource and open the context editor
Set a name such as Green Garden context. Inside you see the context policy editor — configure the dialog window without editing every node.
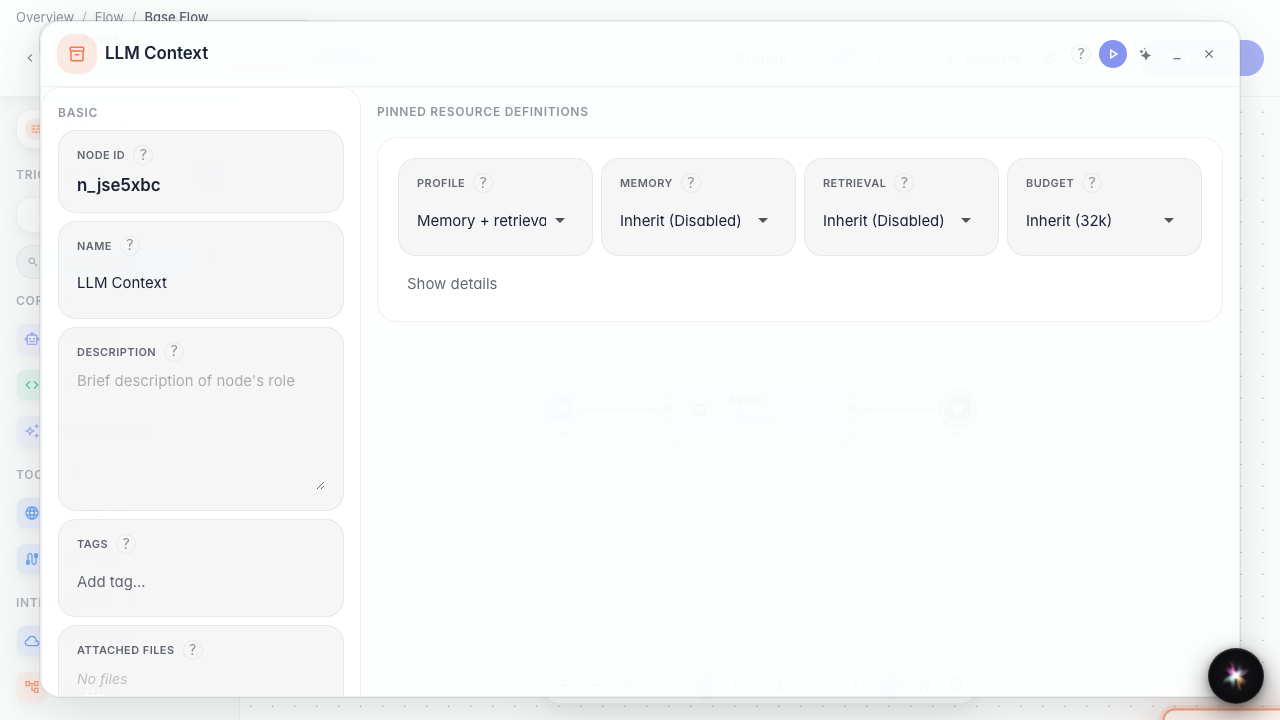
Step 4. Attach the resource to the answer node
Open the answer node and in the context block pick Green Garden context. The node then uses the shared policy explicitly.
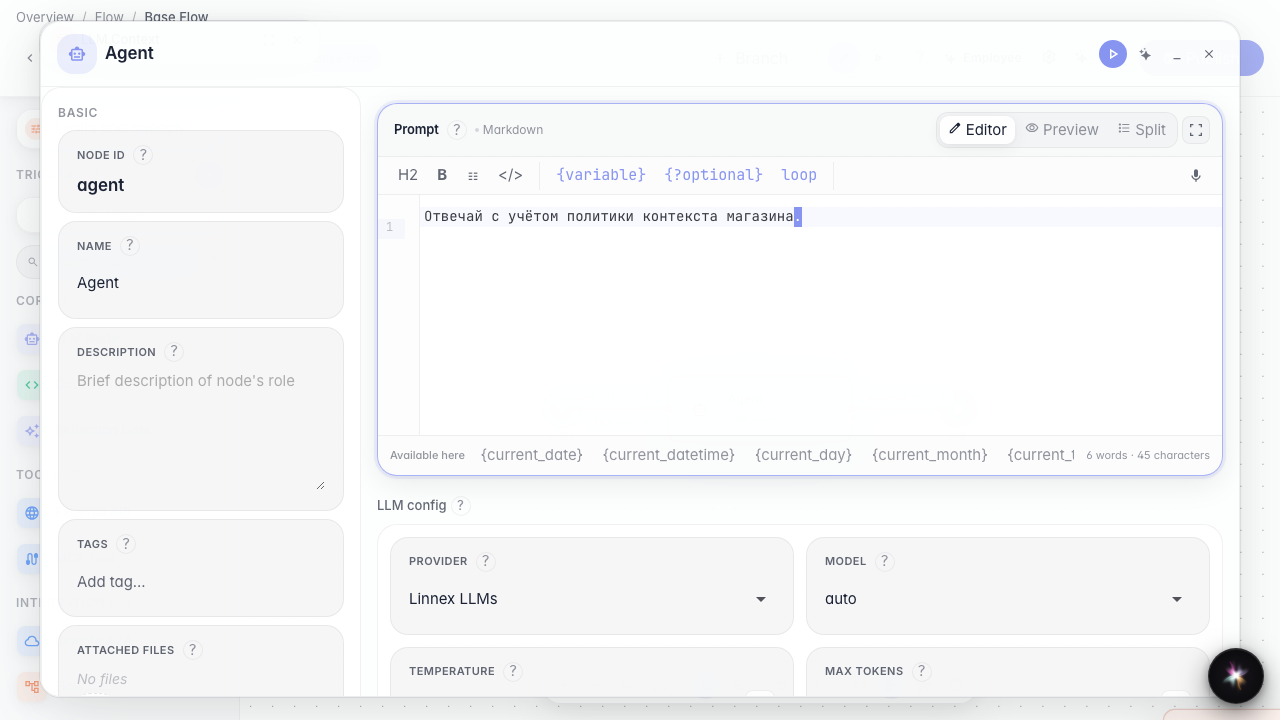
Step 5. Publish and verify the attachment
Result demonstration. After publish the node still has the context resource selected — the policy is saved on the agent.
Summary. You can add a model context resource and attach it to the answer node.