Run the agent on a schedule (cron)
What for: configure a daily automatic agent run without manual starts.
Problems it solves: an order summary is needed every morning — the schedule starts the assistant at the right hour and timezone.
Result: a cron trigger with expression, timezone, and starter text is saved.
Step 1. Open the agent triggers list
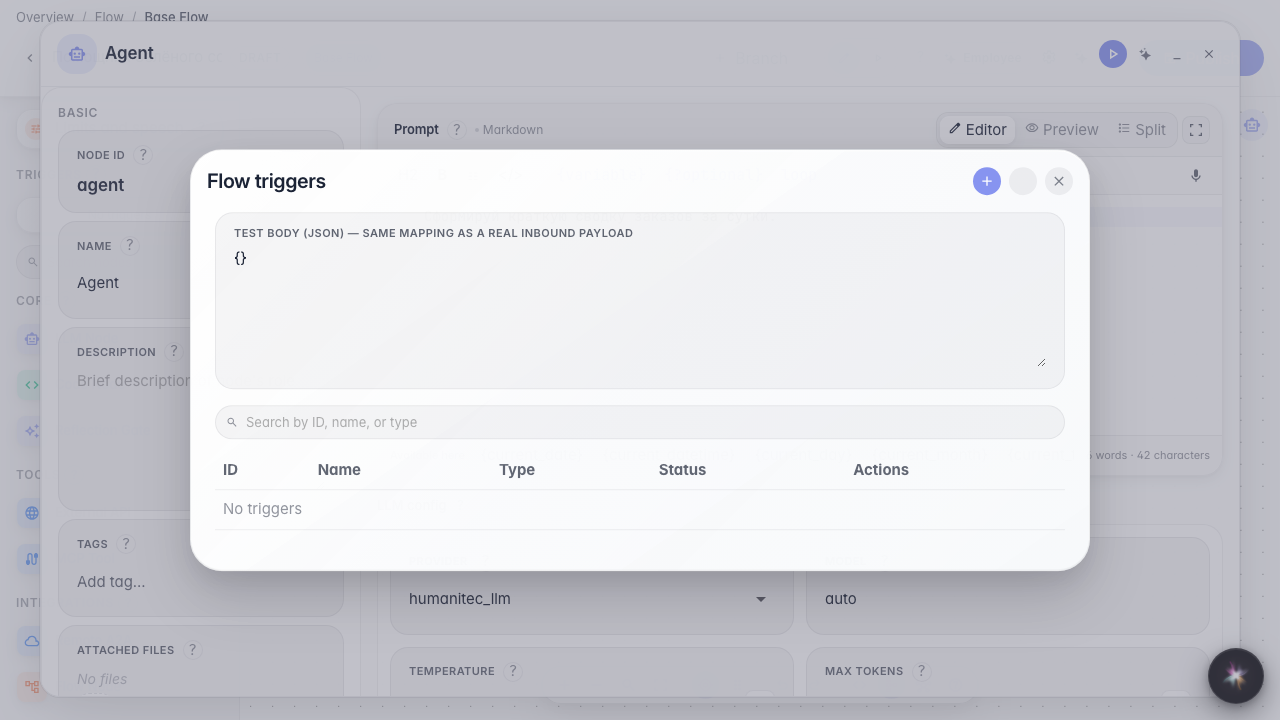
In the Green Garden Assistant editor open the menu and choose Triggers. All automatic runs live here, including schedules.
Step 2. Choose Cron and set the name
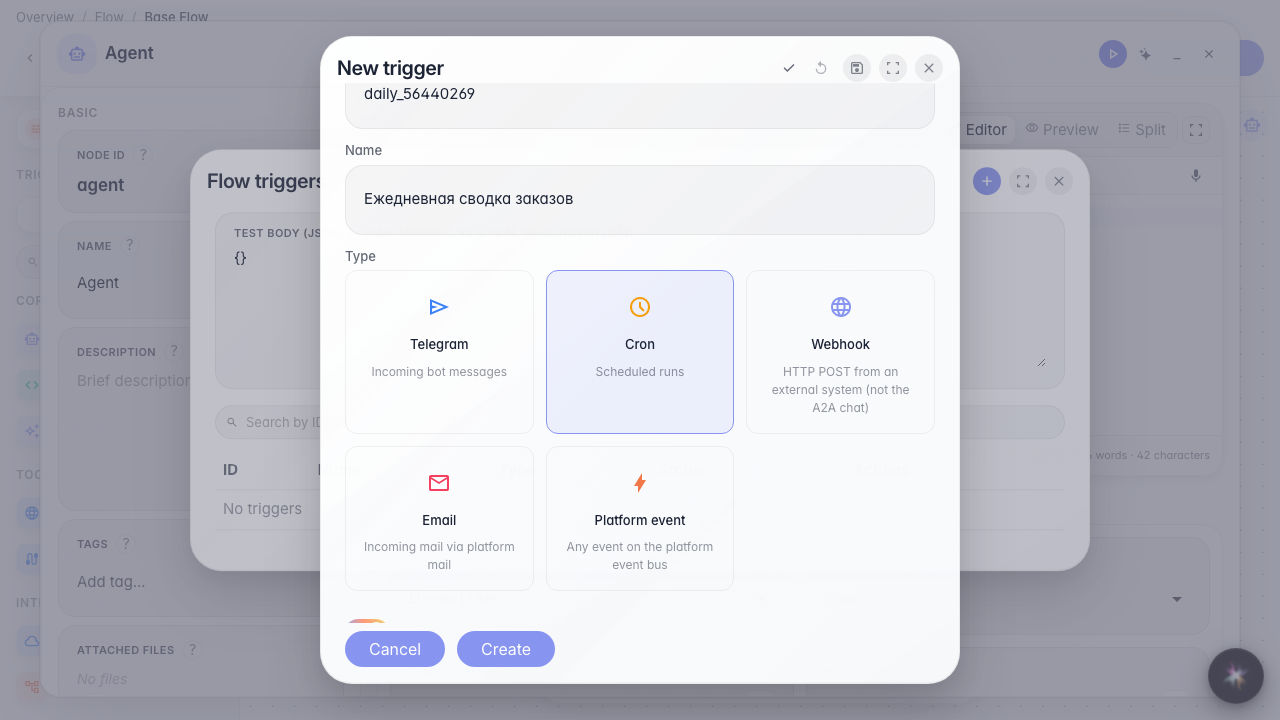
Click +, pick the Cron card. The identifier is Latin for the system; the name Daily order summary appears in the list. Leave Enabled on, or the schedule will not fire.
Step 3. Fill schedule, timezone, and starter text
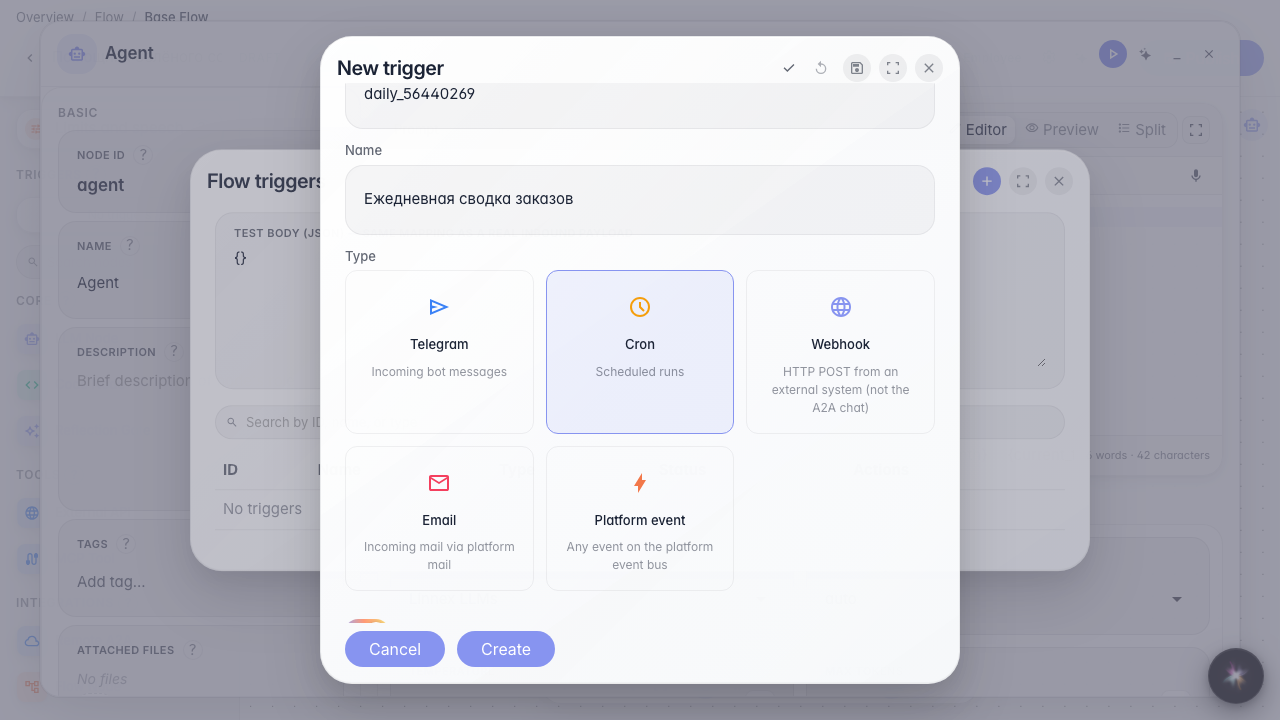
The cron expression 0 9 * * * means every day at 09:00 (minute, hour, day, month, weekday). Timezone Europe/Moscow keeps 09:00 Moscow time, not UTC. Initial text is the phrase the agent starts with, as if someone wrote it in chat.
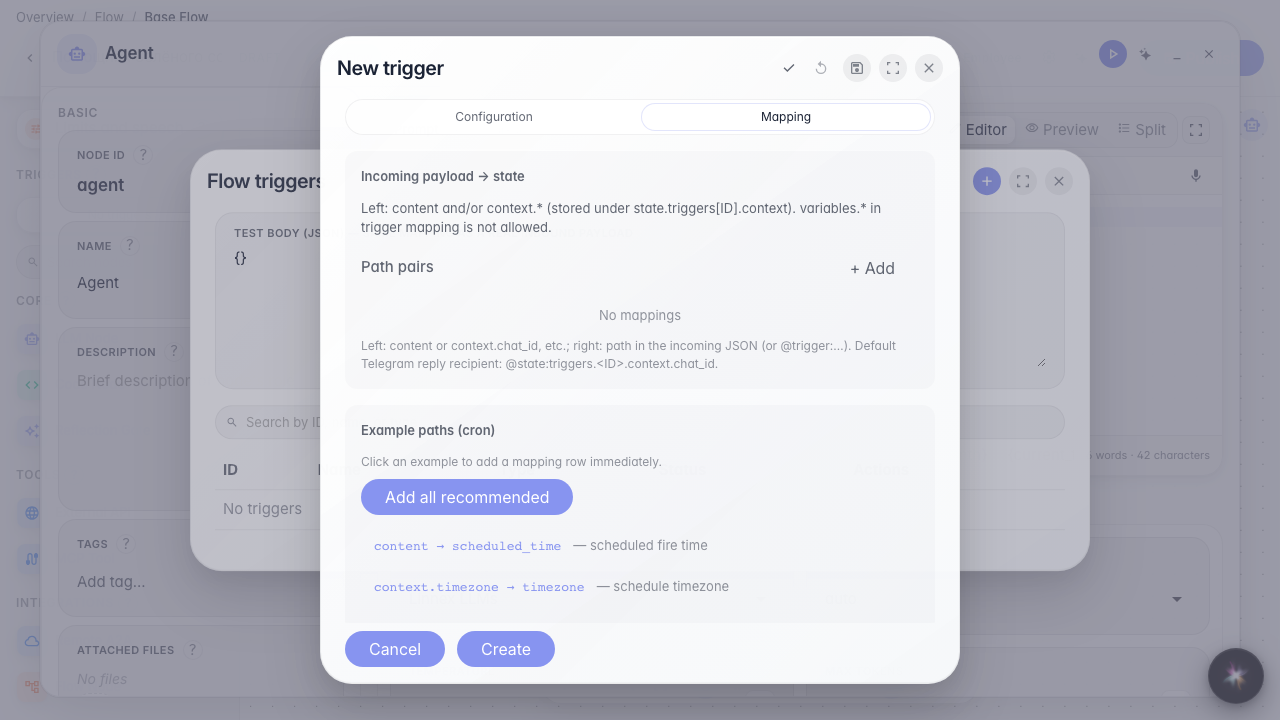
Step 4. Open Mapping and inspect the sample data
The Mapping tab shows which fields arrive when the schedule fires (time and timezone). Example paths can be added with one click — they connect inbound data to what the agent sees.
Step 5. Save and find the schedule in the list
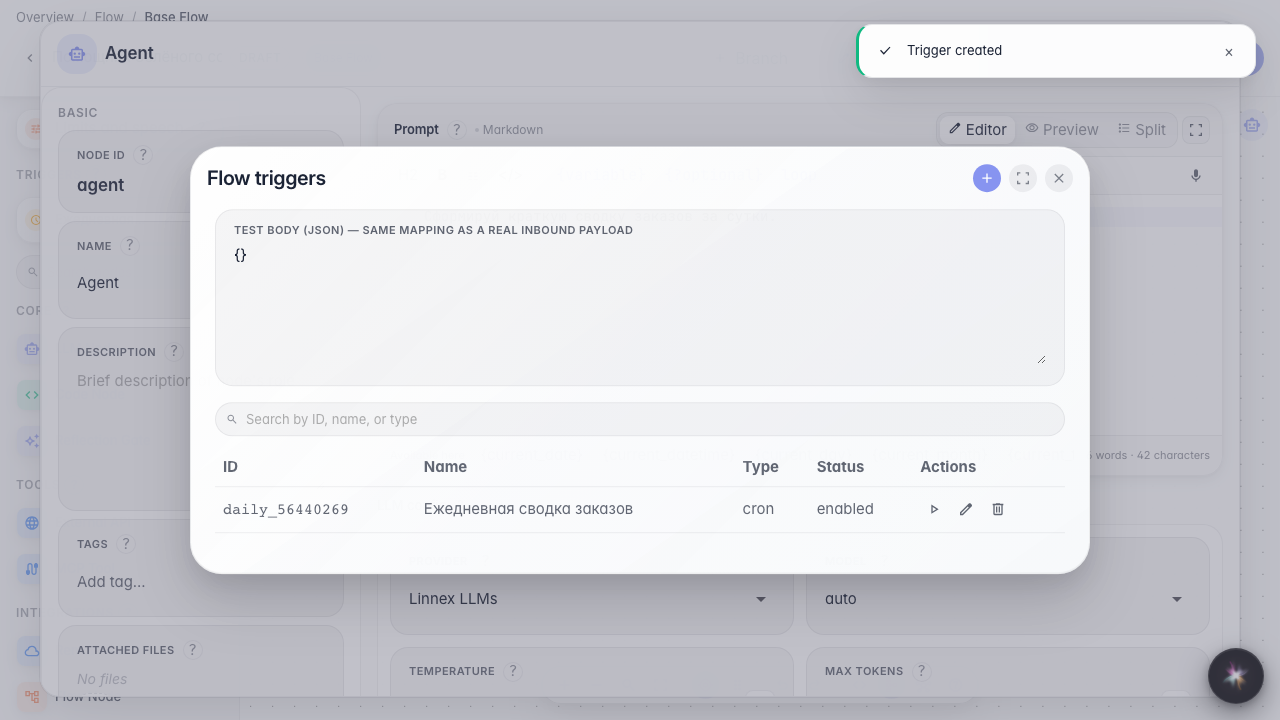
Result demonstration. The Daily order summary row appears in the triggers list — the agent will run each morning on the set schedule.
Summary. You can configure cron: name, expression, timezone, and starter text.